Screw-and-disc manual slack adjusters are an alternativ […]
Screw-and-disc manual slack adjusters are an alternative type of slack adjuster used in heavy-duty vehicle air brake systems. They are known for their precision, ease of adjustment, and enhanced reliability compared to lever arm slack adjusters.
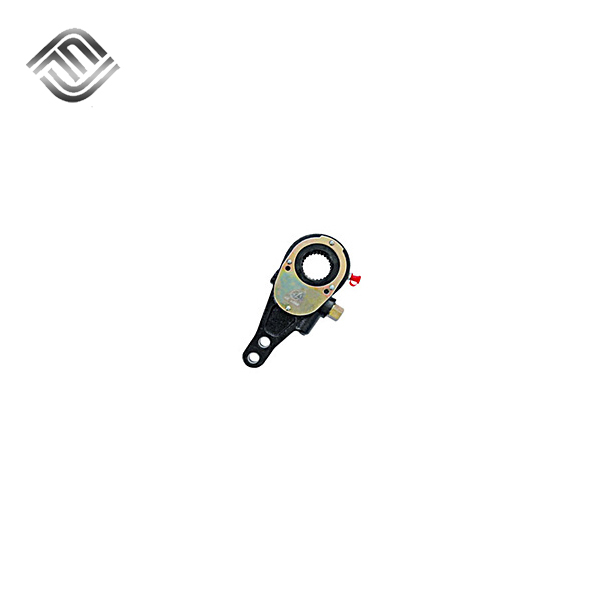
Design and Components:
Screw-and-disc manual slack adjusters feature a distinct design with components that enable more precise adjustment and reliability:
Adjusting Screw: At the core of this type of slack adjuster is the adjusting screw. It is threaded and controls the position of the brake pushrod. Turning the adjusting screw is what primarily adjusts the brake shoe clearance.
Disc or Cam: Connected to the adjusting screw, there is typically a disc or cam that moves along the threads of the screw. This disc or cam is responsible for translating the rotational motion of the screw into the linear motion of the pushrod.
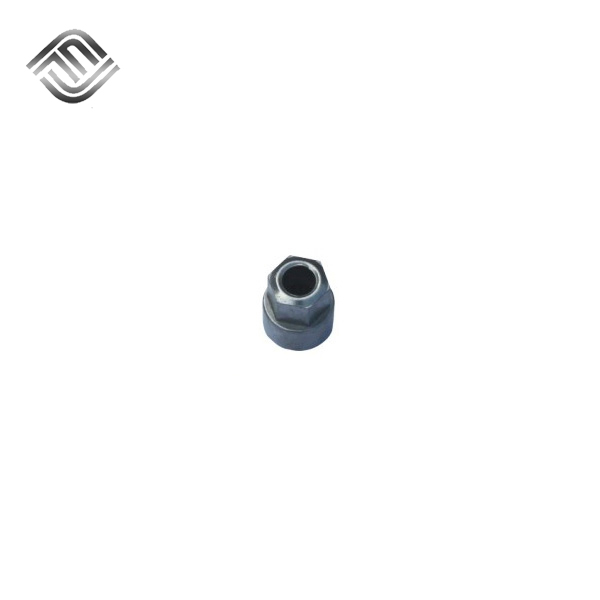
Hexagonal End: Similar to lever arm slack adjusters, screw-and-disc adjusters often have a hexagonal end that technicians can use to turn the adjusting screw. Technicians use a wrench or socket to adjust the screw.
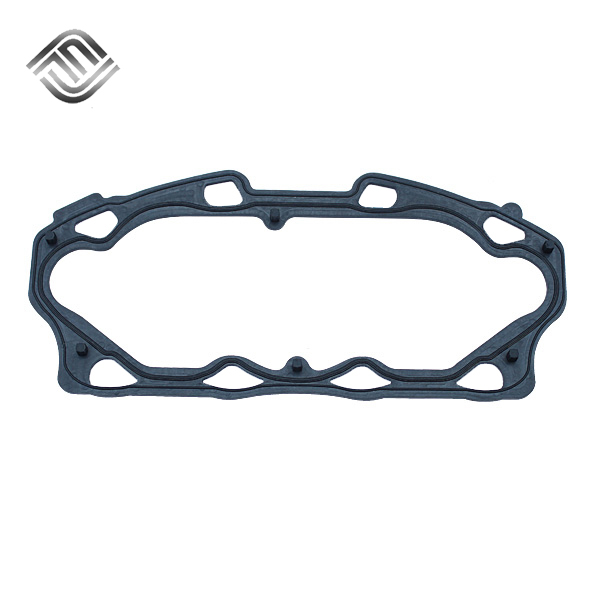
Spline (Optional): Some screw-and-disc manual slack adjusters include a spline component that allows them to securely connect to the brake chamber's pushrod. This connection ensures effective transfer of force from the pushrod to the brake shoes.
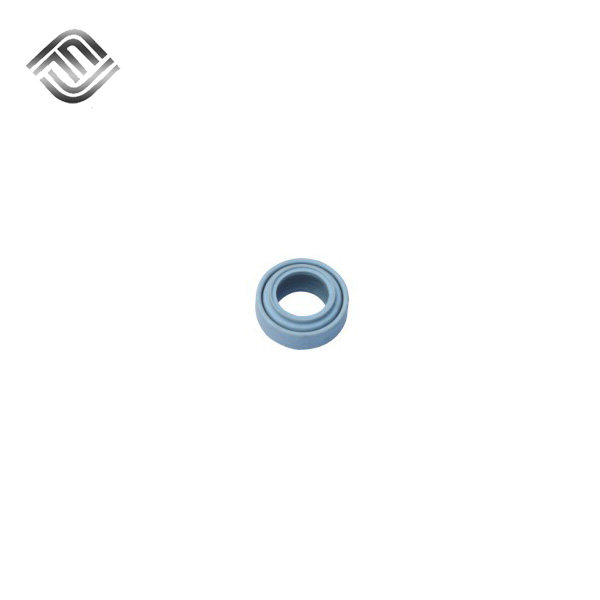
Dust Boot or Cover (Optional): Like other slack adjusters, screw-and-disc types may also feature a dust boot or cover to protect internal components from environmental contaminants.
Adjustment Process:
The adjustment process for screw-and-disc manual slack adjusters offers greater precision compared to lever arm adjusters:
a. Locate the Slack Adjuster: Identify the screw-and-disc manual slack adjuster that requires adjustment, typically positioned between the brake chamber and the brake assembly.
b. Release the Parking Brake: Ensure the parking brake is released so that the brake shoes or pads are not engaged.
c. Access the Adjuster: Depending on the vehicle's configuration, you may need to access the slack adjuster from beneath the vehicle or through an access panel in the wheel well.
d. Adjust the Screw: Use an appropriate tool, such as a wrench or socket, to turn the adjusting screw. Turning the screw adjusts the brake shoe clearance. Clockwise turns increase the clearance (loosening the adjustment), while counterclockwise turns decrease the clearance (tightening the adjustment).
e. Check Clearance: As you turn the adjusting screw, closely monitor the clearance between the brake shoes or pads and the drum or rotor. Refer to the vehicle's specifications or manufacturer guidelines for the recommended clearance.
f. Adjust to Specifications: Adjust the slack until it aligns with the manufacturer's recommended specifications, which can vary based on the vehicle's make and model.
g. Verify Proper Clearance: After making the adjustment, ensure that there is sufficient clearance to prevent brake drag when the brakes are not applied while still allowing the brakes to engage fully when needed for braking.
 English
 Deutsch
 España
 简体中文
简体中文